How to Restring a Baseball Glove?
Are you a baseball enthusiast? Do you have a favorite glove that has seen better days? Have you noticed the laces becoming worn out and the webbing losing its tightness? If so, fear not!
There’s a solution that can restore your glove’s former glory and make it perform like a champ once again. Have you ever heard of restringing a baseball glove? It’s a straightforward yet crucial process that can give your glove a new lease on life.
Imagine effortlessly making those incredible catches again and having your glove feel as good as new. In just a few simple steps, you can revitalize your trusty companion and ensure it remains an indispensable tool in your baseball arsenal.
So, are you ready to learn how to restring your baseball glove and take your game to the next level?
The Importance of Maintaining a Well-Functioning Glove
A baseball glove is more than just a piece of equipment; it’s an extension of yourself on the field. Maintaining a well-functioning glove not only enhances your confidence but also boosts your performance.
Picture this: you’re in the outfield, eyeing that soaring ball as it descends toward you with unwavering determination. The crowd holds its breath as you stretch out your gloved hand, ready to secure victory for your team with an awe-inspiring catch…only for the worn-out laces to give way at the last moment!
To avoid such nightmares and ensure consistent game-saving plays, regular maintenance, and restringing are imperative. By keeping your glove in top-notch condition, you’ll be able to capitalize on every opportunity that comes your way while leaving spectators awestruck by your impeccable skills.
The Benefits of Restringing Instead of Replacing the Glove
Now, some folks might argue that when faced with deteriorating laces or webbing in their trusty old mitts, replacing the whole darn thing is their best option. But before rushing off to splurge on a shiny new glove, let’s consider why restringing should be your go-to solution.
Firstly, restringing your glove is a cost-effective alternative to purchasing a brand-new one. By investing a little time and effort into the restringing process, you’ll not only save money but also retain the familiarity and comfort of your current mitt.
After all, every baseball player knows that breaking in a new glove can feel like wrestling with an ornery snake! Moreover, restringing allows you to customize and personalize your glove to suit your playing style perfectly.
You can choose lacing materials that best meet your needs, experiment with different webbing patterns, and even develop a stronger bond with your trusty glove as you go through the restringing process together. So buckle up, my friends!
In this comprehensive guide, we’ll take you step-by-step through the art of restringing a baseball glove. Get ready to revive that old mitt of yours and embark on an exciting journey toward peak performance on the diamond!
See Also: How Should a Baseball Glove Close
Gathering the Tools and Materials
List of essential tools
To restring a baseball glove, you’ll need a few key tools to get the job done right. Firstly, make sure you have a strong and sturdy needle specifically designed for leatherwork.
A curved needle is often preferred as it allows for easier maneuverability when threading through tight spaces. Additionally, you’ll need high-quality leather lacing that matches or complements the original lacing on your glove.
This ensures durability and a seamless look once the restringing is complete. Next on your list should be a good pair of sharp scissors or shears.
You’ll need these to trim excess lace length and to cut through tough knots during the process. Keep in mind that precision is crucial when cutting, as an uneven lace can affect the overall performance of your glove.
Consider having some pliers handy to help with tightening knots or adjusting tension as needed. While not essential, they can be quite useful in providing extra control during certain stages of restringing.
Types of lacing materials available
When it comes to selecting lacing material for your baseball glove, there are typically two main options: rawhide and synthetic laces. Rawhide laces provide excellent strength and longevity due to their natural composition derived from cowhide or other animal hides.
They have been favored by traditionalists for their classic feel and ability to mold well with time. Rawhide laces require some breaking-in but offer exceptional durability once settled into place.
On the other hand, synthetic laces have gained popularity in recent years due to their convenience and immediate usability straight out of the package. Made from materials like nylon or polyester, synthetic laces offer enhanced resistance against moisture absorption which helps maintain consistent performance even during wet conditions.
The choice between rawhide and synthetic largely depends on personal preference—some players enjoy the old-school charm of rawhide, whereas others appreciate the low-maintenance nature of synthetic laces. Whichever you opt for, ensure that the lacing material you choose matches the original specifications and quality of your glove for optimal performance.
See Also: Best Baseball Gloves for 10 Year Old
Preparing the Glove for Restringing
Cleaning the Glove Thoroughly to Remove Dirt and Debris
Before you begin restringing your baseball glove, it’s crucial to ensure that it is clean and free from any dirt or debris. Over time, your glove can accumulate dirt, sweat, and even bits of dried-out grass that may hinder its performance. To clean your glove effectively, use a soft cloth or sponge dampened with warm water.
Gently wipe down the entire surface of the glove, paying special attention to areas where dirt tends to accumulate, such as between fingers and along the seams. If you encounter stubborn stains or grime that won’t budge with water alone, you can use a mild soap solution diluted in water.
However, be cautious not to use any harsh chemicals or abrasive cleaners that could damage the leather. Once you have cleaned off all visible dirt and stains, rinse the glove with clean water to remove any soap residue.
Afterward, pat it dry using a soft towel or allow it to air dry naturally. It’s important not to rush this step since excessive heat or direct sunlight can cause the leather to dry out and crack.
Softening the Leather with Conditioner or Oil
In order for your baseball glove to offer optimal comfort and flexibility during play, it’s essential to soften the leather before restringing it. Over time and through use, leather tends to become stiff and rigid; therefore conditioning is crucial in restoring its suppleness.
To soften your baseball glove effectively, there are several methods you can use. One popular option is applying a specialized leather conditioner specifically designed for sporting goods like baseball gloves.
These conditioners typically come in cream form and work by deeply nourishing the leather fibers while adding moisture to prevent drying out. Another alternative is using natural oils, such as neatsfoot oil or mink oil, which also work wonders in softening and rejuvenating leather.
Apply the conditioner or oil sparingly onto a clean cloth and gently rub it into the glove’s surface, paying extra attention to areas that feel stiff or dry. Allow the conditioner or oil to penetrate the leather for a few hours or overnight before proceeding with restring your glove.
Subtitle: Breathe New Life Into Your Beloved Glove
Your baseball glove may have accompanied you through numerous victories and defeats, becoming an integral part of your baseball journey. By taking the time to thoroughly clean off any accumulated dirt and debris and then softening the leather before restringing it, you can breathe new life into this beloved companion. These steps will not only enhance its performance on the field but also ensure its longevity for many more games to come.
See Also: Best Baseball Glove Under $200
Understanding the Glove’s Webbing Pattern
Different web designs commonly used in baseball gloves
When it comes to glove webbing patterns, there is a wide variety to choose from. Each design offers unique benefits and caters to different player positions and preferences. The most common web designs you’ll encounter include the Basket Web, H-Web, I-Web, Trapeze Web, and Single Post Web.
The Basket Web: This pattern features a woven design that creates a deep pocket ideal for trapping and securing the ball. It provides excellent flexibility and is favored by infielders who need quick ball transfer.
The H-Web: As its name suggests, this pattern forms an “H” shape with vertical support straps that reinforce the webbing structure. It offers a good balance between flexibility and stability, making it popular among outfielders who need to catch high-flying balls.
The I-Web: Resembling the letter “I,” this web design has two vertical straps that provide increased visibility through the webbing. It allows fielders to track fly balls while shielding their eyes from sunlight or stadium lights.
The Trapeze Web: Known for its simplicity and clean look, this pattern features long horizontal leather strips that connect directly to the thumb and pinky finger of the glove. It maximizes visibility while maintaining moderate flexibility—a preferred choice for outfielders.
The Single Post Web: This less common pattern consists of a single leather strip extending vertically across the glove’s face. Offering great visibility due to its open structure, it is popular among pitchers who seek better grip control on their throws.
Identifying the specific pattern in your glove for accurate restringing
To accurately restring your baseball glove, you must first identify its specific webbing pattern. While some gloves come with labels indicating their pattern type, others may require more careful observation.
Start by examining your glove’s webbing, focusing on the area where the fingers and thumb meet. Identify the number and arrangement of vertical and horizontal leather strips and any additional support straps.
Compare these features with known web patterns to determine your glove’s design. If you’re still uncertain, consult the manufacturer’s website or reach out to their customer support for assistance.
Providing them with clear pictures of your glove’s webbing from different angles can help them identify the pattern accurately. Once you’ve determined the specific web design, you’ll be fully equipped to proceed with restringing your baseball glove correctly and efficiently.
See Also: Best Baseball Gloves Under 300
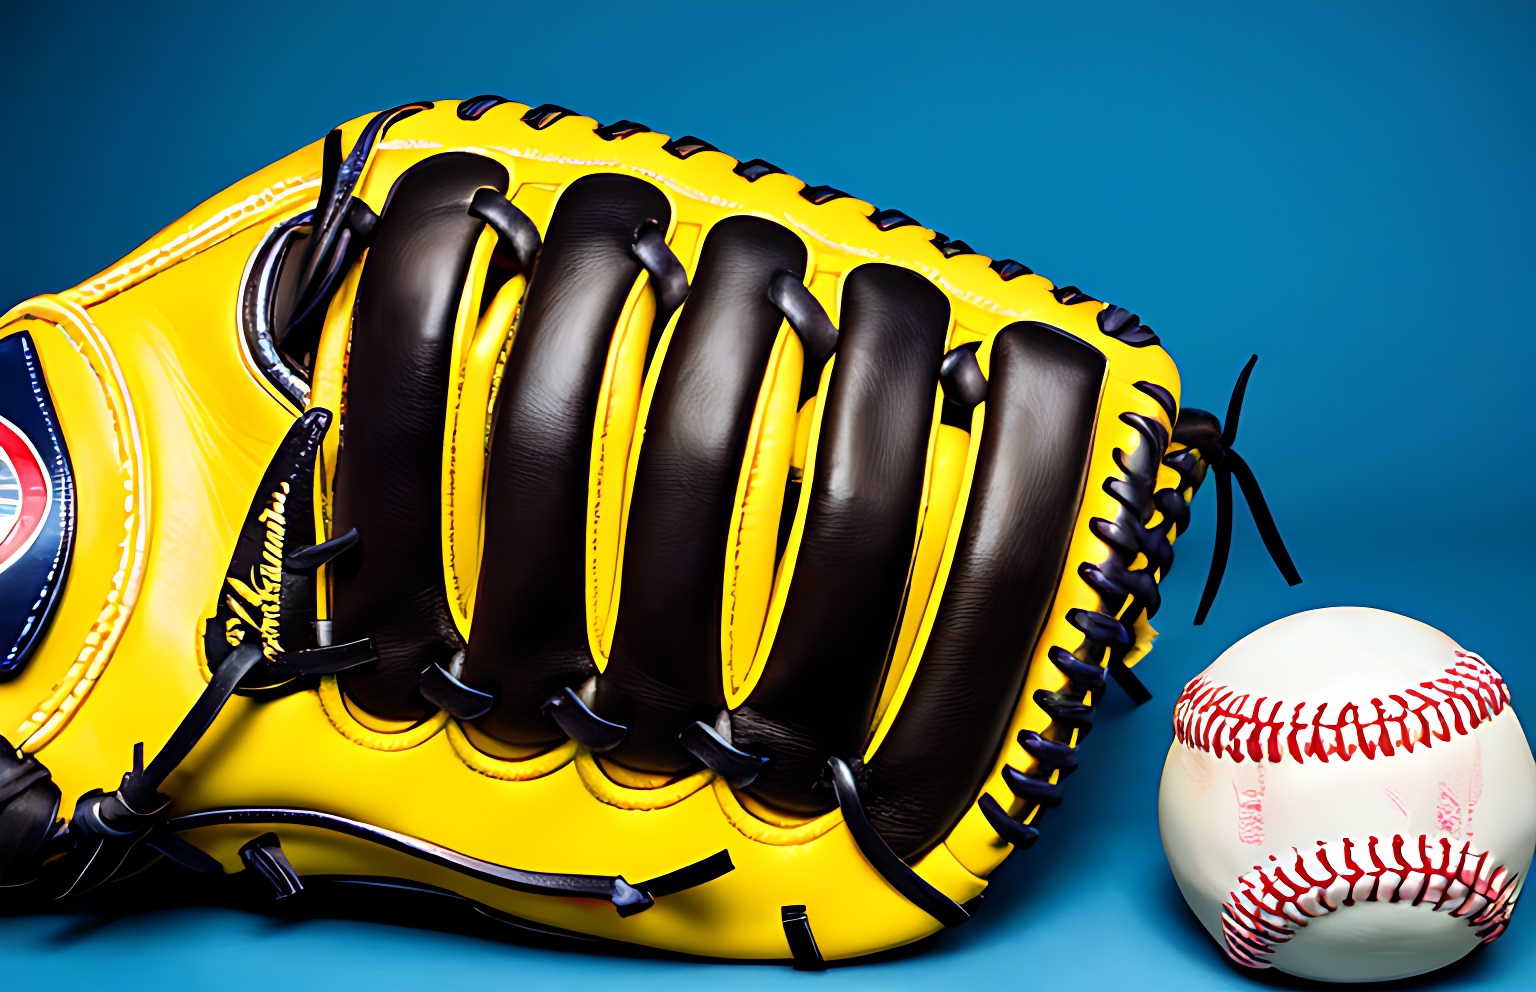
Removing Old Laces and Knots
The Art of Lace Cutting
Before you embark on the restringing journey, it’s crucial to bid a fond farewell to those worn-out laces that have served your trusty glove well. To liberate your glove from its old bindings without causing any harm, grab a pair of sharp scissors or a lacing knife if you’re feeling fancy. Here comes the secret: aim for precision!
Place the blades close to the base of each lace and make clean, deliberate cuts. Take steady hands and proceed with utmost care to avoid accidental scratches on your beloved glove’s leather surface.
Becoming a Knot Whisperer
With your laces safely severed, it’s time to face another challenge: untying knots like a seasoned sailor. Remember, these knots might have entangled themselves over countless games and practices, so exercise patience and finesse.
Start by gently examining each knot—observe its shape and structure—before attempting any manipulation. For stubborn knots that refuse to yield, there are a few tricks in the trade.
Try using a thin tool like a toothpick or straightened paperclip to loosen the grip of tightly wound knots gently. Gradually work your way around each loop until you feel that elusive sense of triumph when the knot finally loosens its grip on the lace.
And don’t forget about those remnants! Ensure that every last trace of old laces is removed from their entrenched positions before proceeding with renewed vigor into restringing territory.
See Also: Best Youth Baseball Glove Under $150
Starting the Restringing Process
Choosing an appropriate starting point for the glove’s webbing pattern
When beginning the restringing process, it is crucial to select the right starting point on your glove’s webbing pattern. Look closely at the existing laces and identify where they intersect or overlap.
This intersection will serve as your ideal starting point. By following this approach, you ensure that your new laces align correctly with the existing structure, guaranteeing a secure and durable result.
Securing one end of the new lace tightly to prevent slipping
Before diving into restringing your baseball glove, it’s essential to prevent any potential slipping or loosening of the new lace. To achieve this, securely fasten one end of the lace to a fixed part of the glove – for example, a nearby loop or anchor point.
Make sure it is tautly pulled and double-knotted if needed. This step not only provides stability but also allows you to maintain control over tension as you progress through lacing different parts of the glove.
Lacing Techniques for Different Parts
Subtitle: Weaving Magic Through Each Component
The process of restringing a baseball glove involves tackling various components such as fingers, pockets, heels, and webbing. Each part requires a slightly different lacing technique due to its distinct shapes and functionalities.
For instance, when working on fingers or pocket sections, make sure to create tight but flexible loops by threading through adjacent holes in an alternating manner. This technique helps create a secure structure that allows for easy catching and flexibility during play.
When dealing with heel sections or webbing between fingers and thumb, you may need to employ more intricate techniques like X-lacing or figure-eight patterns. These approaches enhance stability while ensuring proper support for catching balls and maintaining the glove’s shape.
See Also: Best Baseball Gloves for 8 Year Olds
Conclusion
In conclusion, restringing a baseball glove is a gratifying process that can revive your beloved equipment and extend its lifespan. By carefully selecting the starting point on the webbing pattern and securing the new laces tightly, you lay the foundation for a successful restringing adventure. Remember to pay attention to lacing techniques specific to each part of the glove, ensuring functionality and durability.
Restringing your baseball glove not only allows you to personalize its fit but also fosters a deeper bond between you and your trusted companion on the field. So go ahead, embrace this DIY project, and enjoy the rewarding feeling of rejuvenating your favorite glove for countless more seasons of play!
Frequently Asked Questions: How to Restring a Baseball Glove?
How often should I restring my baseball glove?
Restring your baseball glove every one to two years, depending on usage and overall condition. Maintain optimal performance by restring sooner if you notice significant wear and tear, such as loose or broken laces.
What materials do I need to restring a baseball glove?
To restring a baseball glove, you’ll need the following materials: new laces (preferably leather or synthetic), a glove needle, an awl, leather conditioner (optional but recommended), and scissors.
How do I remove the old laces from my baseball glove?
To remove the old laces from your baseball glove, follow these steps: locate and undo the knots or untie the laces, gently pull out the old laces from each hole, and take note of the lacing pattern or take pictures for reference.
What is the recommended lacing pattern for restringing a baseball glove?
The recommended lacing pattern for restringing a baseball glove is the “X-web” pattern. Start by threading the lace through the bottom hole of the webbing, forming “X” patterns until you reach the top of the webbing. Tie a secure knot at the top to prevent the laces from coming undone.
Can I restring my baseball glove myself, or should I seek professional help?
Restringing a baseball glove can be done by yourself if you have the necessary tools and a basic understanding of the process. However, it’s recommended to seek professional help if you’re unsure or lack experience. Professional glove restringing services ensure accurate restringing, proper tension, and lacing patterns, maximizing the glove’s longevity and performance.