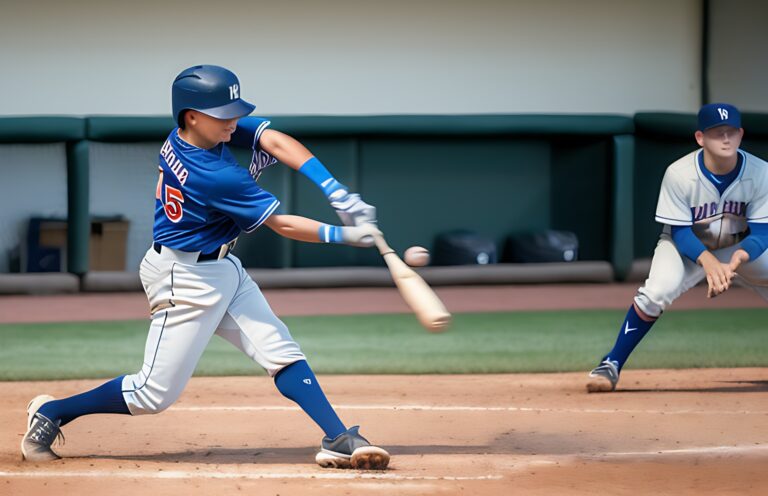
How to Remove Mold from Baseball Glove?
Are you struggling to remove mold from your beloved baseball glove? Don’t worry, you’re not alone. Mold growth on sports equipment is a common problem, especially if it’s stored in damp or humid conditions. Not only does it give off an unpleasant odor, but it can also weaken the leather and affect your performance on the field.
But fear not, we have the solution for you. Our expert team has researched and tested various methods to remove mold from baseball gloves, and we’re here to share our secrets with you.
Whether you’re a seasoned player or just starting, these tips will help you keep your glove clean and mold-free, so you can focus on making great plays on the field. Let’s get started!
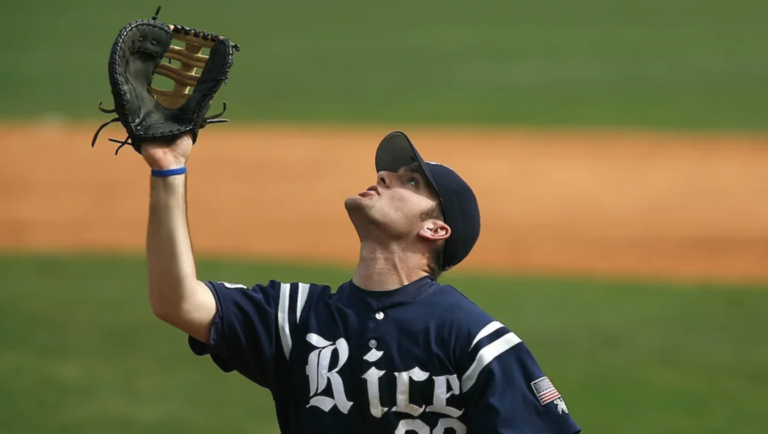
The Importance of Cleaning Your Baseball Glove
It’s been your trusty companion through countless games and has caught more fly balls than you can count. But have you ever stopped to think about the importance of cleaning it?
Cleaning your baseball glove is more than just about keeping it looking nice. It’s about maintaining its quality and prolonging its lifespan. A well-cared-for glove will not only perform better on the field but will also last you for many more games to come.
So, why is it so important to clean your baseball glove? Well, for starters, dirt, sweat, and grime can build up inside the glove over time, causing it to become stiff and lose its shape. This can make it harder to catch the ball and can even lead to injury if the glove is not properly maintained.
In addition to maintaining the quality of your glove, cleaning it regularly can also help prevent the spread of bacteria and germs. Think about it – your glove is constantly coming into contact with sweat, dirt, and other players’ hands. Without proper cleaning, your glove can become a breeding ground for bacteria, leading to unpleasant odors and even infections.
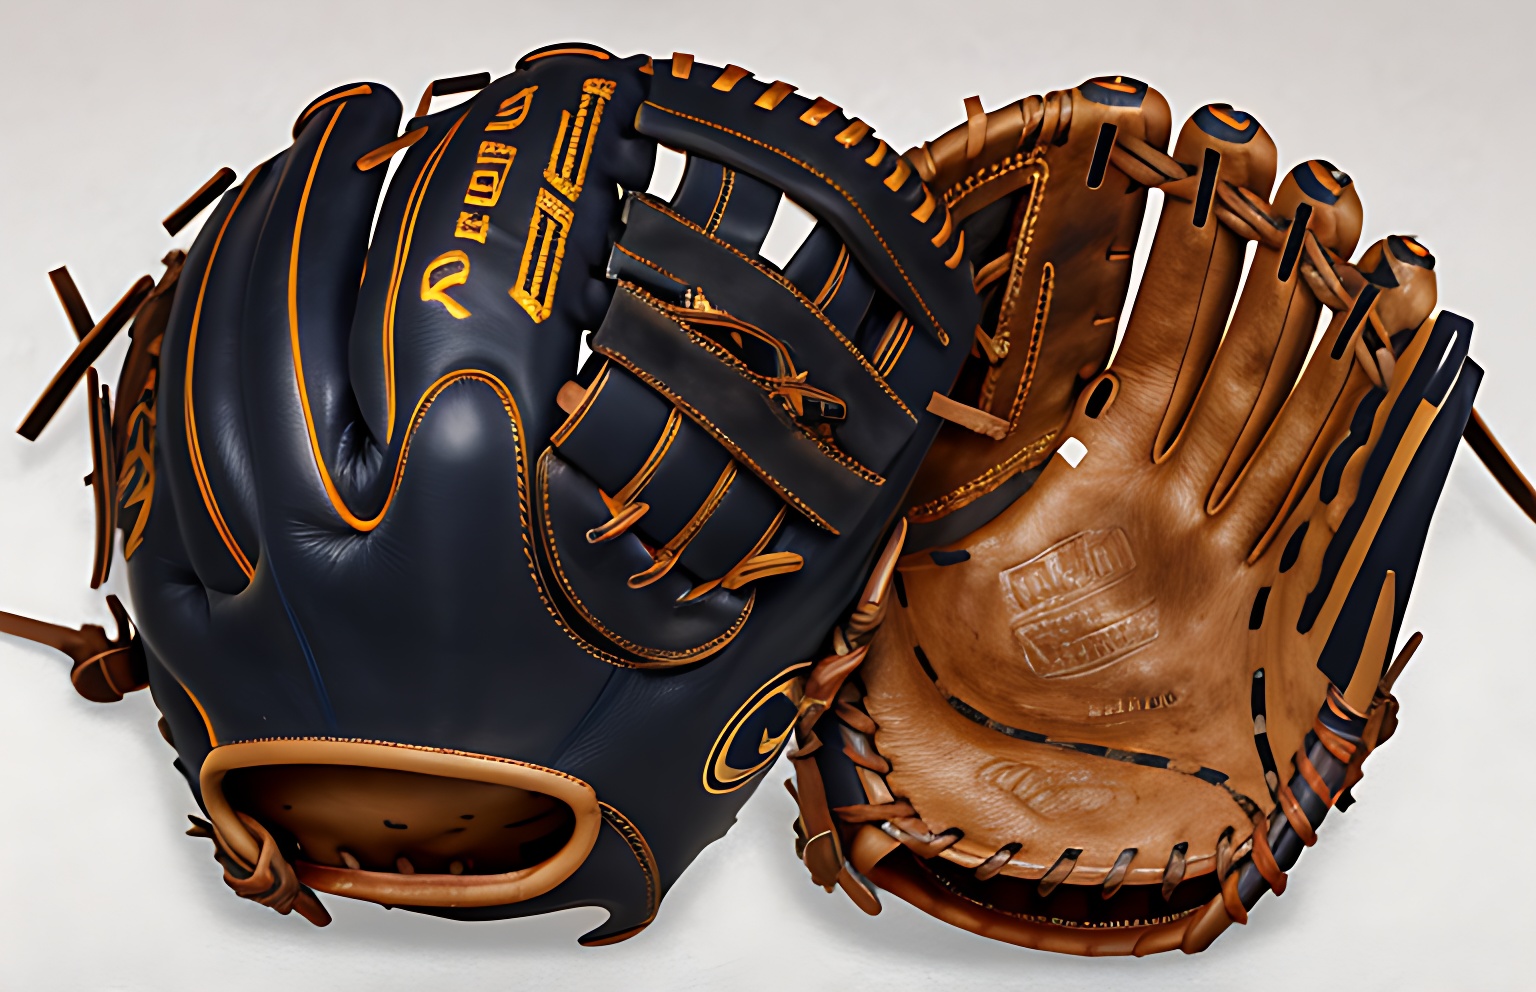
Step-by-Step Guide on How to Remove Mold from Baseball Gloves
Cleaning a moldy baseball glove may seem daunting, but with the right approach and supplies, it’s a manageable task. Here’s a step-by-step guide to help you remove mold from your baseball glove.
Step 1: Preparation
Before you start cleaning your moldy baseball glove, it’s essential to prepare the necessary supplies and identify the affected areas.
Gather Your Supplies
- Soft-bristled brush or toothbrush
- Cleaning solution (mild dish soap, vinegar, or specialized leather cleaner)
- Clean water
- Microfiber towel or cloth
- Leather conditioner
Identify the Affected Area
Once you’ve gathered your supplies, it’s time to identify the affected areas of the glove. Typically, mold growth appears in the crevices of the glove, such as the webbing or pockets. Be sure to inspect your glove thoroughly to determine the extent of the mold growth before moving on to the cleaning process.
Step 2: Cleaning the Glove
Once you’ve gathered your supplies and identified the affected areas, it’s time to start cleaning the glove. Here’s how:
Use a Soft Brush to Remove the Surface Mold
Before applying any cleaning solution, it’s essential to remove surface mold and dirt from the baseball glove. A soft-bristled brush or toothbrush can be used to gently brush the moldy areas.
When using a brush, ensure that the bristles are soft to avoid damaging the leather. If you use a stiff brush, it may cause scratches or damage to the surface of the glove. You can also use a toothbrush as it has soft bristles and can easily reach the crevices and tight areas of the glove.
When brushing, make sure to use light pressure and brush in a circular motion. This will help to loosen any mold or dirt without damaging the leather. Pay special attention to the moldy areas and hard-to-reach spots, such as between the fingers and the laces.
Brushing the glove before applying any cleaning solution will also help you identify the extent of the mold and determine if it has spread to other areas of the glove. It’s essential to remove all the surface mold before applying a cleaning solution to prevent any further damage to the glove.
Once you’ve finished brushing the glove, use a clean cloth to wipe away any loose dirt or debris. This step will prepare the glove for the next step of the cleaning process.
Apply a Cleaning Solution
After removing the surface mold from the baseball glove with a soft-bristled brush or toothbrush, the next step is to apply a cleaning solution to remove any remaining mold and stains.
There are different types of cleaning solutions that you can use to clean a baseball glove. You can choose a mild dish soap, vinegar, or specialized leather cleaner. Whichever cleaning solution you choose, ensure that you dilute it with water as per the instructions on the cleaning product.
To apply the cleaning solution, dampen a microfiber towel or cloth with the solution. Avoid using too much water as it may damage the leather. Wring out the cloth or towel before applying it to the glove.
Place the dampened cloth or towel on the moldy areas and let the cleaning solution sit for a few minutes. This will help loosen and remove any remaining mold or stains.
Remember that cleaning solutions can cause discoloration or damage to the leather, especially if they are too strong or not diluted correctly. Therefore, it’s essential to choose a suitable cleaning solution and follow the instructions carefully.
Once you’ve finished applying the cleaning solution, proceed to the next step of the cleaning process, which is rinsing the glove with clean water.
Scrub the Affected Area
After letting the cleaning solution sit for a few minutes, it’s time to scrub the affected areas gently. Use a soft-bristled brush or toothbrush to scrub the moldy areas and any other spots that require cleaning.
When scrubbing, pay extra attention to the crevices, laces, and hard-to-reach areas of the glove. These areas are where mold and dirt can accumulate, and failure to clean them thoroughly can cause the mold to reappear.
It’s essential to use a soft-bristled brush or toothbrush when scrubbing to avoid damaging the leather. If you use a stiff brush or apply too much pressure, you risk scratching or tearing the leather, which can ruin the glove.
When scrubbing, use a circular motion to loosen and remove any remaining mold or dirt. Take your time and be gentle to avoid damaging the leather. Scrub the affected areas thoroughly until the glove is clean.
Rinse the Glove with Water
Now that you’ve removed the surface mold, applied a cleaning solution, and scrubbed the affected areas, it’s time to rinse the glove with clean water. This step is crucial to remove any remaining cleaning solution and dirt from the glove.
To rinse the glove, hold it under a faucet with cool running water. Avoid using hot water, as it can damage the leather. Alternatively, you can fill a bowl with clean water and submerge the glove, gently swishing it around to ensure that all the soap is removed.
While rinsing, use a damp microfiber towel or cloth to wipe away any residue or excess moisture. Ensure that you rinse the cloth or towel regularly to avoid spreading mold or dirt.
When rinsing, pay extra attention to the crevices, laces, and hard-to-reach areas of the glove. These areas can accumulate soap residue, and failure to rinse them thoroughly can cause the glove to stiffen or discolor.
Step 3: Drying the Glove
After cleaning the glove, it’s essential to dry it properly to prevent the growth of mold. Follow these steps:
Wipe Excess Moisture with a Towel
After rinsing the glove with clean water, it’s essential to remove any excess moisture to prevent the growth of mold. To do this, use a clean microfiber towel or cloth to gently blot the glove.
Don’t be too rough when wiping the glove. Leather is a delicate material, and excessive rubbing can damage it. Instead, use a gentle, patting motion to remove any remaining water.
Be sure to pay extra attention to the areas where mold was present, as they tend to retain more moisture than other parts of the glove. Use a dry part of the towel or cloth to remove as much moisture as possible.
Remember, the goal is to dry the glove, not saturate it with water. Excessive moisture can cause the leather to warp or become misshapen, rendering the glove useless. Take your time and be patient as you wipe away the excess moisture, and your glove will be good as new in no time!
Apply a Leather Conditioner
After cleaning and drying the glove, it’s essential to apply a leather conditioner to keep the leather supple and prevent it from cracking. Leather conditioners work by moisturizing the leather and restoring its natural oils, which can be lost during the cleaning process.
When selecting a leather conditioner, choose one that’s specifically designed for baseball gloves. Some conditioners may contain chemicals that can damage the leather, so it’s important to use one that’s safe for your glove.
To apply the conditioner, start by putting a small amount on a soft, clean cloth. Rub the conditioner onto the glove using circular motions, working it into the leather. Be sure to apply the conditioner evenly, covering all parts of the glove, including the crevices and hard-to-reach areas.
Don’t use too much conditioner. A little goes a long way, and using too much can make the glove too soft and decrease its durability. If you’re unsure how much to use, start with a small amount and add more as needed.
The result? A beautiful, supple, and well-maintained baseball glove that will last for many seasons to come!
Allow the Glove to Air Dry
Once you’ve cleaned, rinsed, and conditioned your glove, it’s time to let it air dry. It’s essential to allow the glove to dry naturally, as excessive heat or direct sunlight can damage the leather and cause it to crack.
To air dry your glove, gently stuff it with a clean, dry towel to help maintain its shape. Be sure to shape the glove as you want it to look when it’s dry, with the fingers and pocket formed correctly.
Next, find a cool, dry place to leave the glove to dry, such as a well-ventilated room or a shady spot outdoors. Avoid leaving the glove in direct sunlight or near a heat source, such as a radiator or space heater.
Be patient! Depending on the level of moisture in the leather, the drying process can take anywhere from a few hours to a full day or more. Avoid using a hairdryer or other artificial heat sources, as these can cause the leather to dry out too quickly and become brittle.
After the glove is completely dry, give it a quick once-over to ensure that it’s in good condition. If there are any remaining spots or stains, repeat the cleaning process as necessary.
With these simple steps, you can remove mold from your baseball glove and keep it in good condition for years to come.
Preventing Mold Growth in Baseball Gloves
Prevention is always better than cure, especially when it comes to mold growth in baseball gloves. Here are some essential steps you can take to keep your glove mold-free:
Keep Your Glove Clean and Dry
A clean and dry baseball glove is crucial for preventing mold growth. Here are some tips to help keep your glove in tip-top condition:
After each use, use a clean, dry cloth to wipe down your glove and remove any dirt or sweat. Pay particular attention to the webbing and finger areas, as these can often be hotspots for mold growth. Avoid using water to clean your glove after each use, as this can make the leather too damp and promote mold growth.
If your glove is particularly dirty, you may need to use a leather cleaner to remove any stubborn stains. Be sure to choose a cleaner specifically designed for baseball gloves, as other cleaners may contain harsh chemicals that can damage the leather.
After cleaning your glove, allow it to dry completely before storing it. Don’t use a hairdryer or other artificial heat sources to dry the glove, as this can damage the leather and promote mold growth. Instead, let it air dry naturally in a cool, dry place. Gently stuff the glove with a clean, dry towel to help maintain its shape while it dries.
Regular conditioning of your glove is essential to keep the leather supple and prevent it from cracking. Use a leather conditioner specifically designed for baseball gloves, and apply it in small amounts with a soft, clean cloth. Be sure to apply the conditioner evenly, covering all parts of the glove.
Store Your Glove in a Cool, Dry Place
Proper storage of your baseball glove is crucial for preventing mold growth and maintaining its overall quality. Here are some tips to help you store your glove in the best possible way:
One of the best ways to protect your glove from dust, dirt, and other harmful elements is by using a glove bag or wrap. These are specially designed to keep your glove safe and secure when not in use. Look for a glove bag or wrap that is made from breathable materials to ensure proper ventilation.
When storing your glove, choose a well-ventilated area that is not too humid. Avoid storing your glove in a damp or humid area, such as a basement or garage, as this can create the perfect conditions for mold growth. Instead, choose a cool, dry place that is well-ventilated, such as a closet or a shelf.
To further prevent mold growth, it’s a good idea to keep your glove elevated when storing it. This can help prevent moisture from accumulating in the glove. You can use a small ball or rolled-up towel to help maintain the shape of the glove and keep it elevated.
Finally, it’s important to check your glove regularly for any signs of mold growth or damage. Inspect the glove for any discoloration, musty odors, or visible mold growth. If you notice any of these signs, take immediate action to clean and dry the glove as described earlier.
Use a Moisture-Absorbing Product
Moisture is one of the main culprits of mold growth in baseball gloves. To prevent this, you can use a moisture-absorbing product to keep your glove dry and free from mold. Here are some tips on how to use a moisture-absorbing product:
There are several moisture-absorbing products available on the market, including silica gel packets, activated charcoal, and cedar chips. Silica gel packets are small pouches that contain silica gel beads, which are excellent at absorbing moisture. Activated charcoal is another effective moisture-absorbing material that can help eliminate odors. Cedar chips are also a good option, as they can absorb moisture and also provide a pleasant scent.
Once you’ve chosen a moisture-absorbing product, place it inside your glove. Be sure to position the product in such a way that it doesn’t interfere with the shape of the glove. For example, you could place a silica gel packet in the palm of the glove or wrap it in a cloth and place it inside the pocket.
Moisture-absorbing products will eventually become saturated with moisture, so it’s important to replace them regularly. Check the product’s instructions to determine how often it should be replaced. In general, silica gel packets should be replaced every few months, while activated charcoal and cedar chips can last up to a year.
Avoid Overuse and Abuse of Your Glove
Overuse and abuse of your baseball glove can lead to wear and tear, which can create the perfect conditions for mold growth. Here are some tips to help you avoid overuse and abuse of your glove:
If you’re a serious baseball player, you probably have more than one glove. Be sure to rotate your gloves regularly to avoid overuse. This can help distribute the wear and tear evenly across all of your gloves, preventing anyone glove from becoming too worn out.
While it might be tempting to use your baseball glove for other sports, such as softball or catch, this can actually cause damage to your glove. Other sports may require different types of gloves, and using your baseball glove for these sports can cause it to stretch or tear. This can create openings for mold to grow.
Leaving your baseball glove in the sun for extended periods of time can cause the leather to dry out and become more susceptible to mold growth. Always store your glove in a cool, dry place when not in use, and avoid leaving it in direct sunlight for extended periods of time.
By taking these simple steps, you can keep your baseball glove clean, dry, and mold-free, ensuring that it lasts for many seasons to come.
Conclusion
In conclusion, removing mold from a baseball glove is a crucial step in maintaining its longevity and functionality. Whether you’re a professional player or just a recreational player, the last thing you want is to have a moldy and unusable glove.
By following the steps outlined in this guide, you can effectively remove mold from your baseball glove and get back to playing your best game. Remember to take proper care of your glove by storing it in a dry place and using leather conditioner regularly to prevent future mold growth.
With a little bit of effort, you can keep your glove in top shape for years to come. Happy playing!